


Quick problem statement
Welds that look fine but crack later, inconsistent nugget size, or a sudden rise in weld failures — these are the problems that stop production and raise costs fast. Start by checking your resistance weld monitor and the basic mechanical condition of the cell; the monitor usually tells the first story. From my decade of hands-on work supporting production welding cells on automotive assembly lines in Detroit, the pattern is clear: most faults trace back to a few repeatable causes.
Diagnose fast: symptoms and likely causes
– Low or missing nugget while welding feels normal: electrode contamination, flattened electrodes, or incorrect clamp force. – Weld energy or time drifting between shifts: loose secondary connections, overheating transformer, or inconsistent water cooling. – High joint-to-joint variation in resistance reading: poor fit-up, surface coatings, or corrosion on parts. – Monitor alarms for “low energy” or “open circuit”: broken leads, bad straps, or sensor wiring issues. – Intermittent failures that pass visual inspection: electrode seating, misalignment, or software threshold set too tight. Each symptom narrows the search. Use the monitor readout as your first filter, then move to physical checks.
Step-by-step troubleshooting flow
1) Read the last 10 weld logs on the monitor. Look for trends: energy, current, time, and collapse. 2) If the monitor shows low current or abnormal waveform, isolate electrical path: check electrode-to-transformer straps, connectors, and the secondary cables for heat discoloration or looseness. 3) Inspect electrodes visually and measure face diameter. Replace if gaunt or heavily scored. Clean lightly if just contaminated. 4) Verify clamp force and alignment. Fit-up jig issues produce repeatable bad spots; a simple gauge test catches this. 5) Check cooling: reduced flow or warm return lines mean higher resistance and inconsistent welds. 6) Re-run a controlled sample part with the monitor logged. Compare waveforms to a known-good reference. Follow this sequence every time. It focuses effort where most failures hide.
Common pitfalls and mistakes
– Replacing settings without confirming mechanical condition — adjusting welding parameters hides a hardware issue. – Ignoring stray resistance from poorly fastened straps; small extra ohms change energy delivered. – Over-cleaning electrodes and using aggressive abrasives that change contact geometry. – Trusting single weld samples: variation needs a batch of logged welds. – Delaying monitor calibration checks; sensors can drift and give false confidence. Avoid these to stop repeat failures.
What monitor data tells you and what it doesn’t
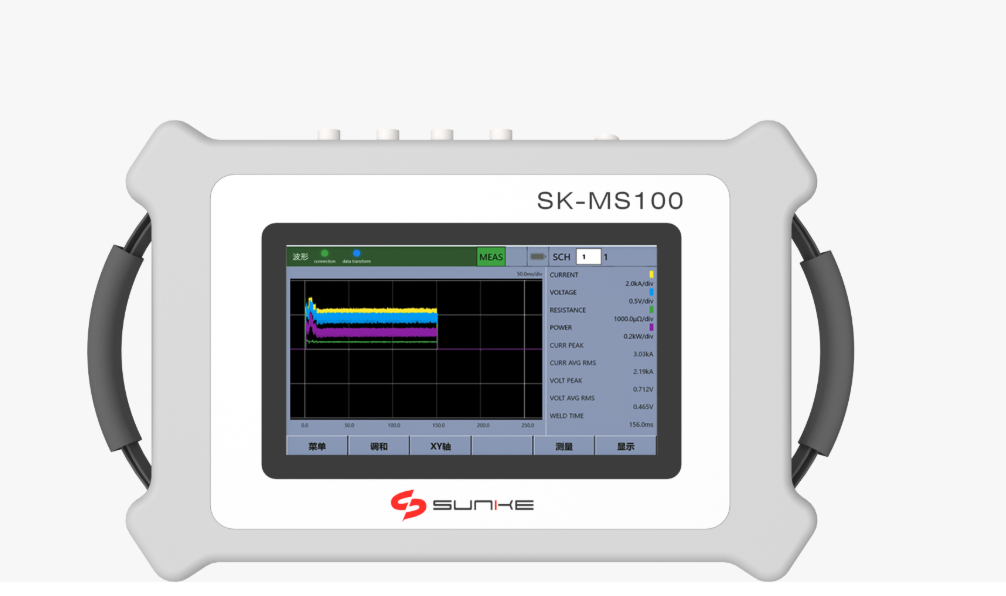
The monitor gives current, time, calculated energy, and often dynamic resistance. Use it to spot trends and compare weld-to-weld repeatability. It reliably shows electrical path issues and timing faults. It does not replace a physical inspection: mechanical misalignment or a bad part fit-up won’t always show as an electrical fault until you combine data and visual checks. Keep a short log: waveforms, electrode condition, and clamp settings together. That combined record is what finds creeping problems.
Practical fixes and preventive actions
– Maintain electrode faces: dress gently, rotate per schedule, and keep spares. – Tighten and torque secondary connections regularly; use anti-oxidation compound where appropriate. – Confirm cooling system flow and temperature weekly; clogged hoses or low flow raise resistance quickly. – Calibrate the monitor annually and after major repairs; validate with a reference specimen. – Standardize part presentation and fixtures; even small variation in fit-up multiplies into weld variation. Small disciplined steps reduce emergency stops.
When to escalate
If monitor logs, after the above checks, still show unexplained energy loss or wildly different waveforms between otherwise identical parts, escalate. Call a technician for transformer or controller inspection, and run a cross-check with a secondary known-good monitor. Escalation sooner saves time — chasing settings while hardware fails only delays the real fix.
Conclusion
Troubleshooting resistance welding is about following the problem: read the monitor, confirm the mechanical route, correct the root cause, and prevent repeat. The pattern repeats in plants everywhere; consistent checks and clear logging cut downtime. For systems where reliable electrical readout is the hinge between guesswork and certainty, choose equipment and monitoring that give clear, repeatable data — that’s how you keep the line moving and weld quality steady with Sunke.
