


Quick comparative snapshot
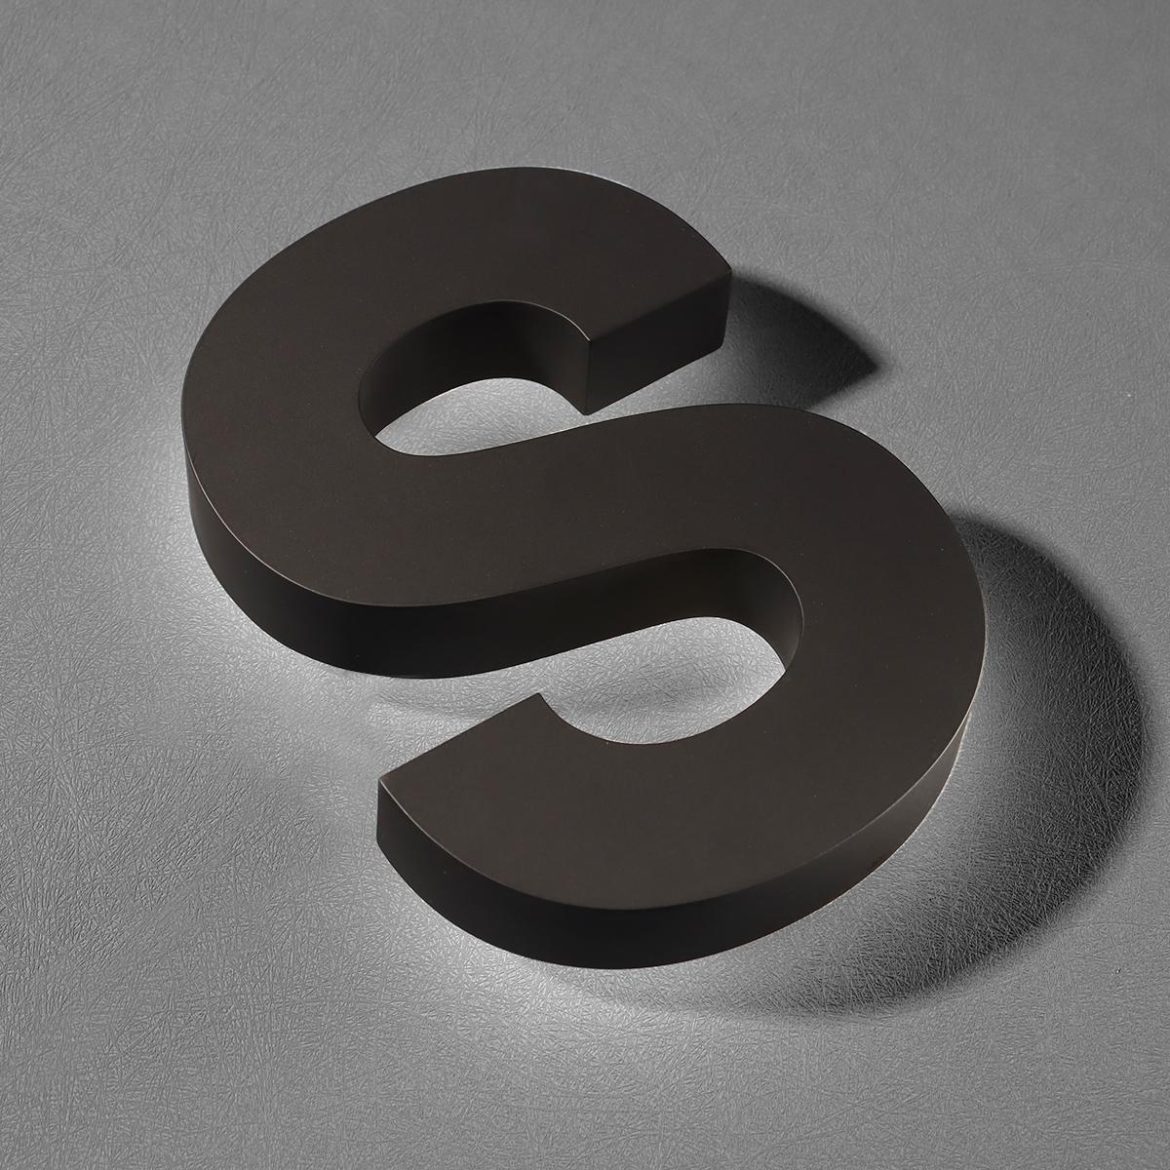
When you compare methods for large runs of custom signage, two manufacturing moves stand out: precision extrusion of profiles and a laser-welded channel framework. This combo reduces variance across dozens or hundreds of pieces, so letters sit straight, reveal uniform face gaps, and mount cleanly. For face finish and edge consistency, many shops pair this with trim cap channel letters to hide small joint offsets and to speed installation on-site.
Why geometry goes wrong in bulk
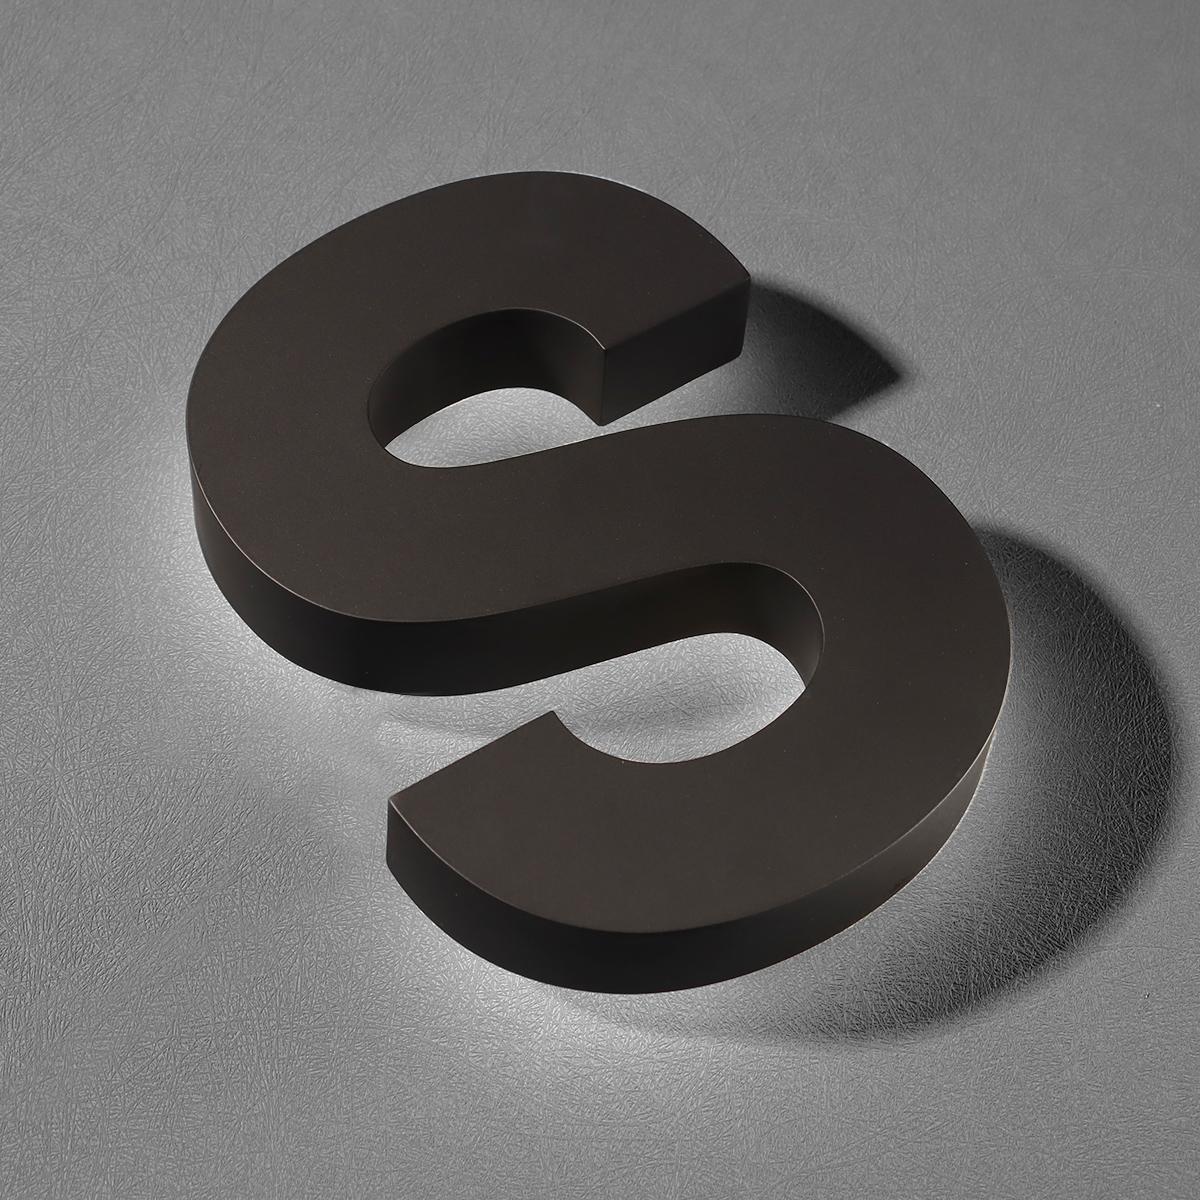
Small tolerances in a prototype can blow up in production. Tooling wear, inconsistent cooling, and hand welding create tiny bends and misalignments. Over a dozen signs these errors add up—faces don’t align, letter returns wobble, and the visual line of a brand breaks. Precision extrusion controls profile shape from the start, reducing one major source of variation.
Comparative insight: common fabrication routes
Hand trimming and spot welding used to be default for many shops. Faster at low volume, but inconsistent at scale. Mechanical fastening gives repeatable location but shows seams. Adhesive bonding simplifies seams but can creep with heat. By contrast a laser-welded channel framework produces narrow, repeatable welds with minimal thermal distortion. Laser welds keep edge geometry stable so illumination spreads evenly—important when you specify face depth or LED module placement.
Trim cap role and practical benefits
Trim caps work as a finishing and tolerance buffer. Using trim cap for channel letters makes the visual edge clean even when the return-to-face tolerance is ±1 mm. For brands that expect identical look across multiple locations—think a retail chain with signs from Bangkok to New York—trim caps mask micro-variation and reduce install time. They also protect welded seams from weather and make replacement easier later.
Design and front-end practices that matter
Start with accurate CAD profiles and specify extrusion tolerances. Call out flatness and straightness values in millimeters. Plan for laser-weld seam placement where it won’t interrupt visible strokes. For LEDs, document module pitch and diffuser depth; consistent geometry keeps light uniform. Also set a clear acceptance standard at inspection—define what pass/fail looks like before tool production.
Common mistakes and practical fixes
Many teams skip pilot runs. That is expensive mistake. Run a short pilot of 5–10 units and validate flatness and fit. Use jigs for welding location; they reduce operator variability. If you see bowing after cooling, review extrusion alloy and temper—sometimes change in profile wall thickness fixes it. Tooling calibration every X hours keeps tolerances alive. —A little discipline early saves costly rework on a 200-sign order.
Real-world anchor and results
Look at signage clusters in Times Square where many letters face high scrutiny. Uniform geometry there demonstrates what good control does: consistent legibility at distance and even wash of illumination at night. Workshops that moved to precision extrusion and laser welding report fewer field adjustments and faster installs, especially on multi-site rollouts.
Advisory: three golden rules for scale success
1) Specify measurable tolerances. Put flatness, straightness, and weld seam location in the contract. These are the non-negotiables that manufacturers must meet.
2) Use pilot production and inspection gates. Approve samples before full tooling. This reduces costly rejects on bulk runs.
3) Combine hard geometry control with finishing solutions. Precision extrusion plus a laser-welded channel framework, then finish with trim caps—this sequence delivers repeatable visual consistency and easier onsite installation.

Good manufacturing aligns design, process, and finish into one steady outcome. Cosun Sign. —steady craft, proven results.
