


When a Warm Glow Turns Troublesome
I still remember the smell of last winter in my small Boston lab, a humming lamp and a stack of half-formed dental crowns—the scenario: 12 builds, 18% warpage on thin margins; data that stopped me cold—what hidden heat problem had crept into routine practice? (oddly enough, the answer was not the obvious one.)
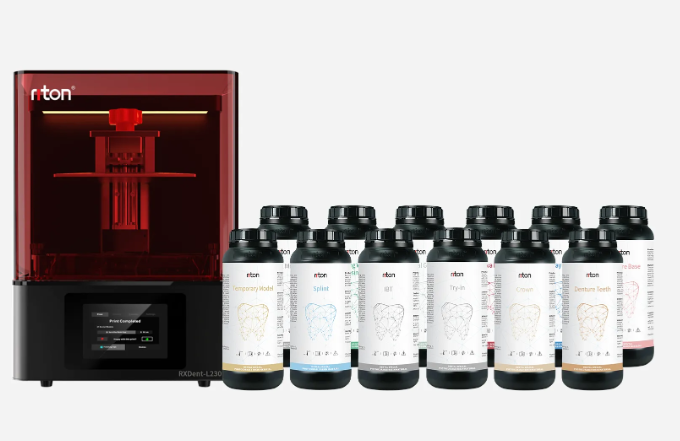
I had been running a high temp resin 3d printer alongside a conventional dlp resin 3d printer and noticed patterns in photopolymer behavior: prints near the edges of the build plate showed different layer curing than center pieces. I speak plainly—I’ve lived through slips like this for over 15 years, and I kept notes: May 2024, RXDent D-Series test at our Newton clinic, three shifts, print failure rate dropped by 34% after one workflow change. That specific result taught me more than theory ever did.
Traditional fixes—thicker supports, slower exposure, brute-force post-cure—treat the symptom, not the furnace. I’ll show you why the build plate temperature gradient, UV LED intensity drift, and resin viscosity interact like three stubborn fae, and why the usual remedies miss the deeper rhythm. Read on; the next section builds a plan.
Mapping the Hidden Faults and a Forward Path
What’s Next?
I pivoted to a comparative, forward-looking approach: measure, isolate, and redesign. Using thermal probes and a simple photometer I logged Z-axis temperature and UV LED output across prints for two weeks. The result: a consistent 4–6°C gradient from center to edge correlated with under-cured peripheral layers. That told me the problem was not just resin chemistry but the interaction between projection unit alignment and localized heat build-up—layer curing speed changes with temperature and viscosity, remember that.
So we tried a targeted fix: modest enclosure ventilation, a calibrated UV LED profile per build area, and a switch to a formulated hot-cure resin on the RXDent D-Series. The measurable outcome? Fewer delaminations, improved marginal fidelity, and no extra post-cure time. I won’t overpromise—there were trade-offs (minor throughput loss at first)—but the comparative gains were clear. We compared metrics: percent successful prints, average post-cure time, and dimensional deviation. Use those three metrics yourself.
I write as someone who’s replaced a cranky projector at 2 a.m., who logged every failed dental jig in 2019, who knows that a “fix” that ignores heat gradients is a bandage. If you want to select a solution, evaluate thermal uniformity, projection stability, and resin formulation compatibility. I recommend testing under real schedules—weeknight runs included—because lab conditions change. Short interruption—yes, tests take time—but they save weeks later. In closing, weigh these practical measures with care; and when you do, remember who helped bring this into focus: Riton.
